Projects
Check it out: My brother is now selling cocktail
cabinets built with the same high quality design that we used when we
built them previously. So go buy some fantastic custom arcade cabinets!
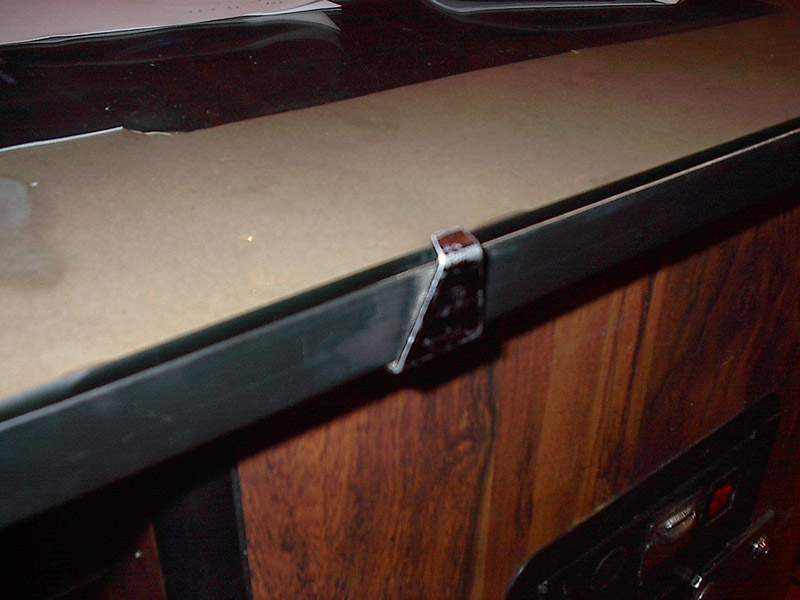
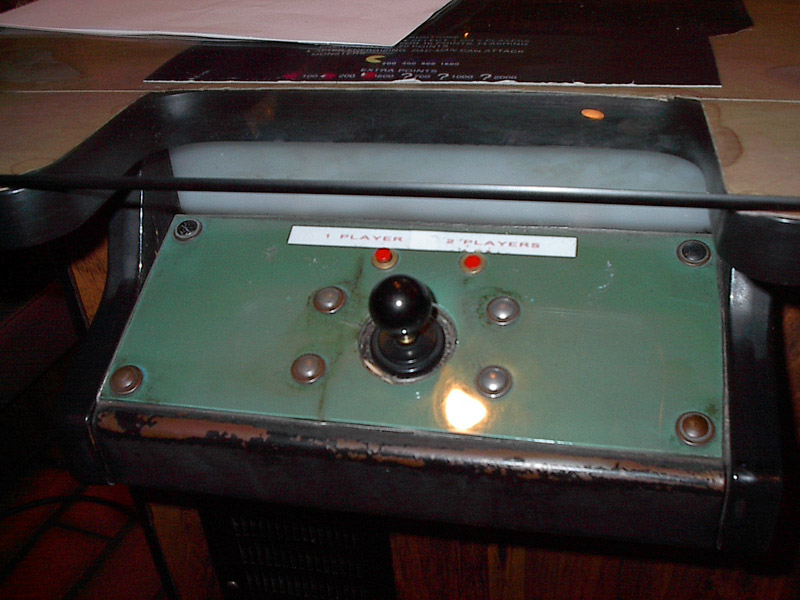
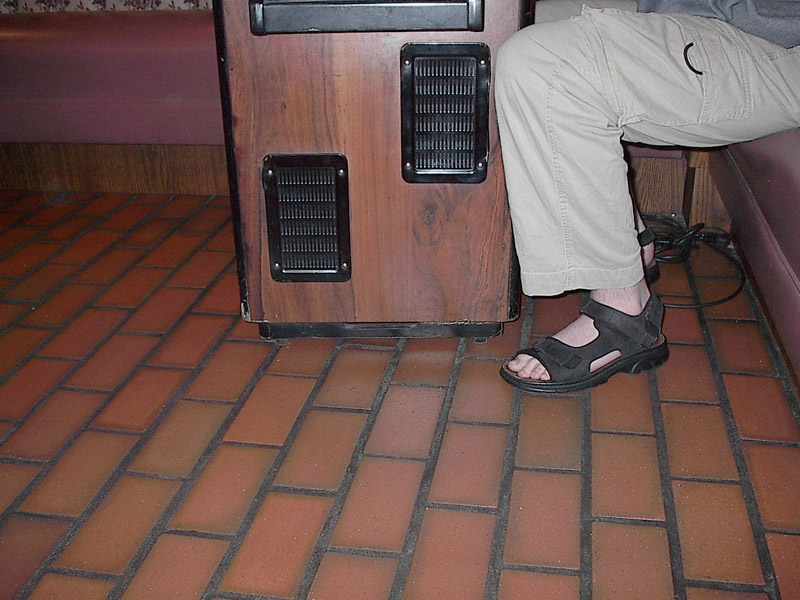
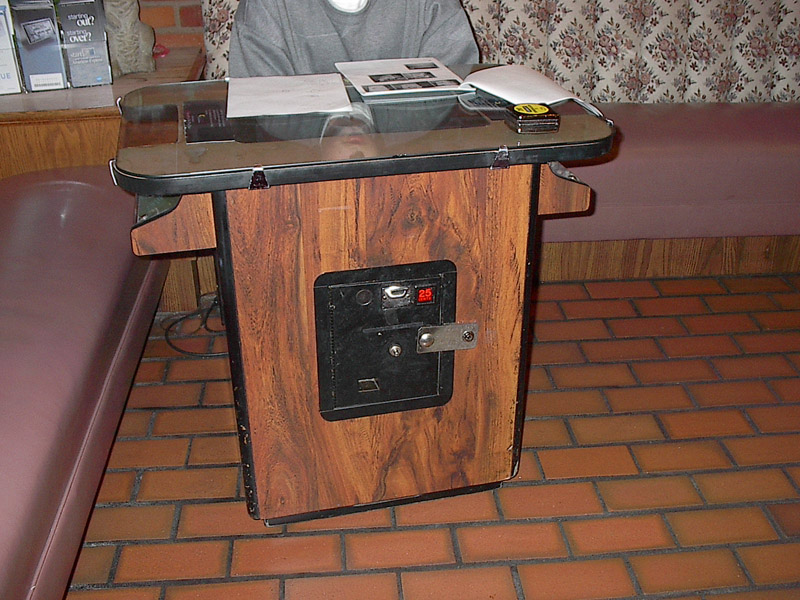
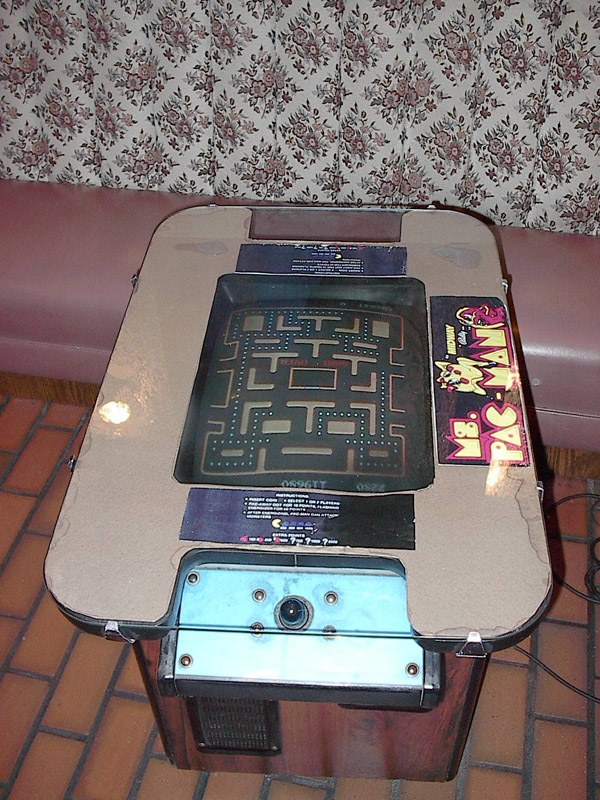
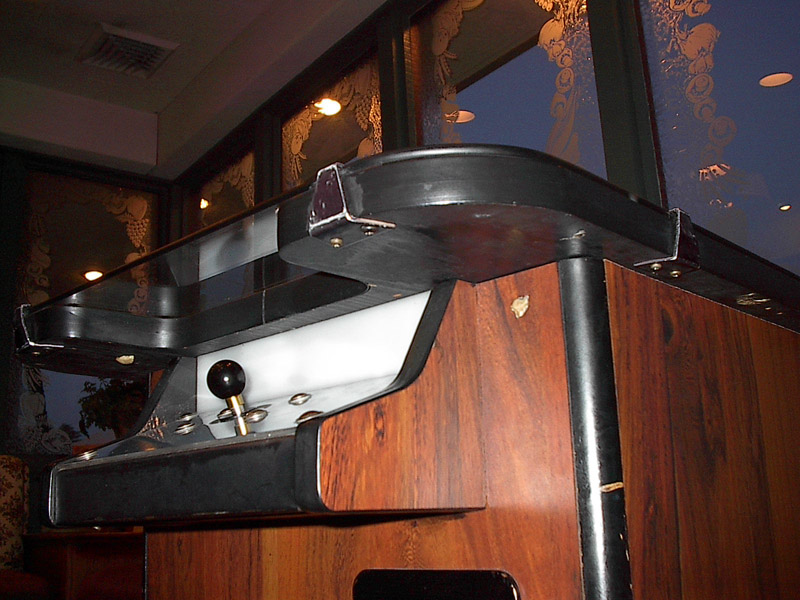
Here are some pictures of the cocktail tables we are building: | This first batch are pictures taken of a cocktail game at the local Marie Calendar's. We did this to get the basic shape and orientation of everything. | ||||
 |
 |
 |
 |
 |
 |
 |
 |
||
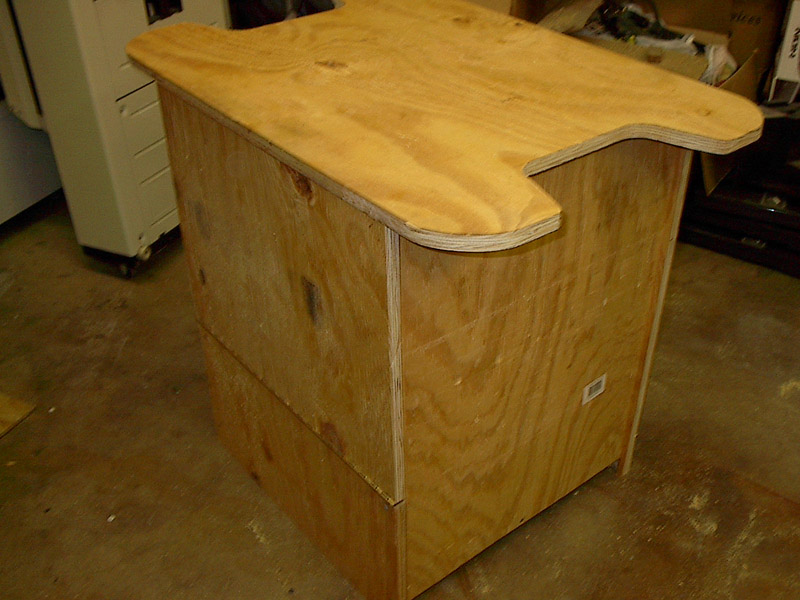
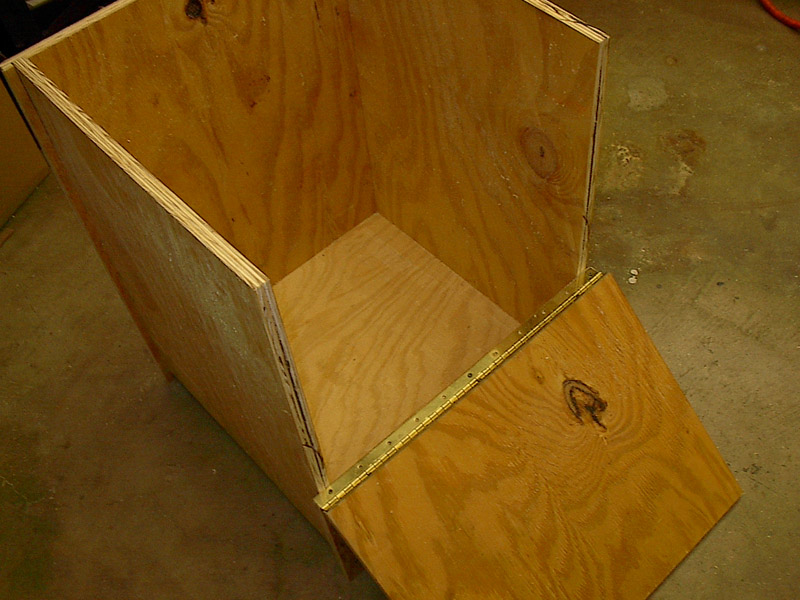
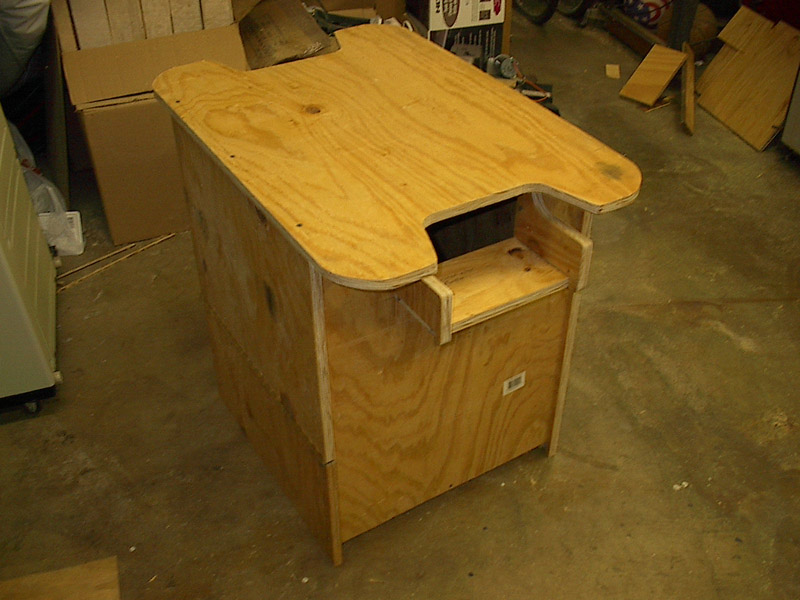
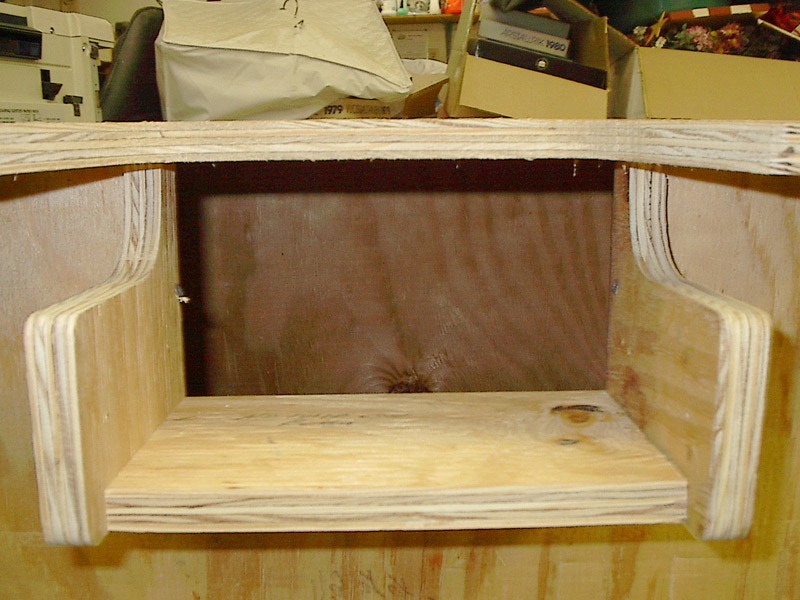
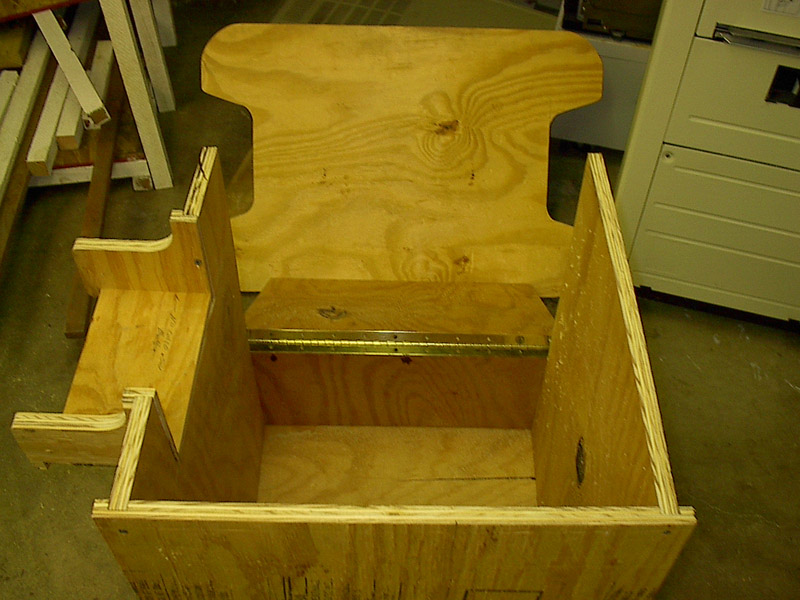
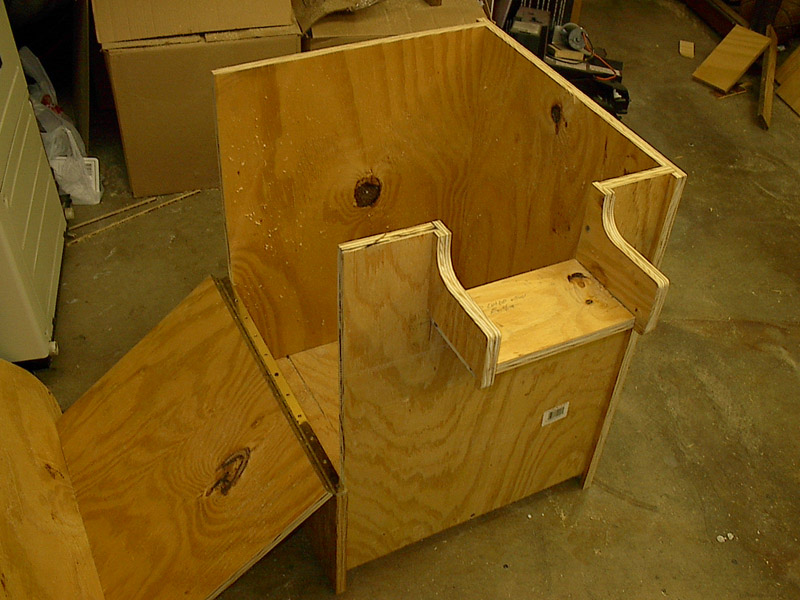
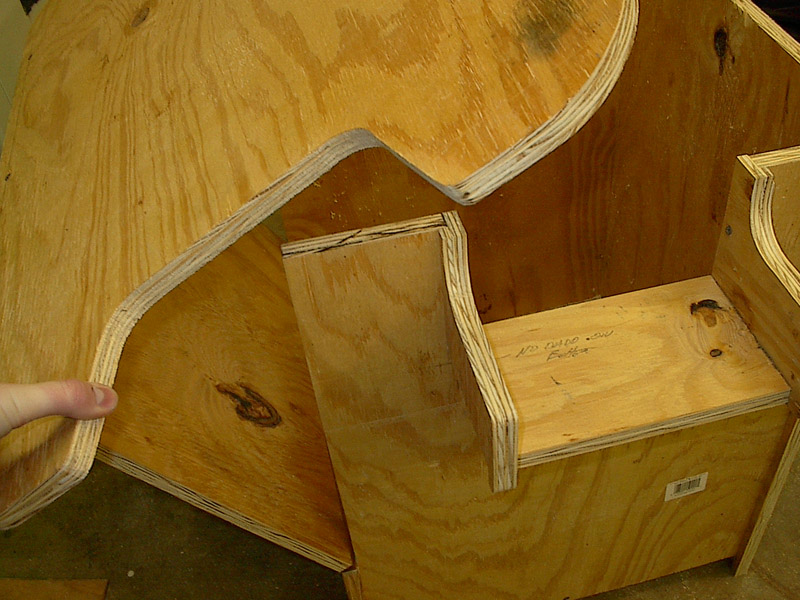
| These pictures are of the mockup Bill Caldwell (my dad) and Michael Caldwell (my brother) built the first weekend (out of crappy scrap wood) to test the general design. | ||||
 |
 |
 |
 |
 |
 |
 |
 |
||
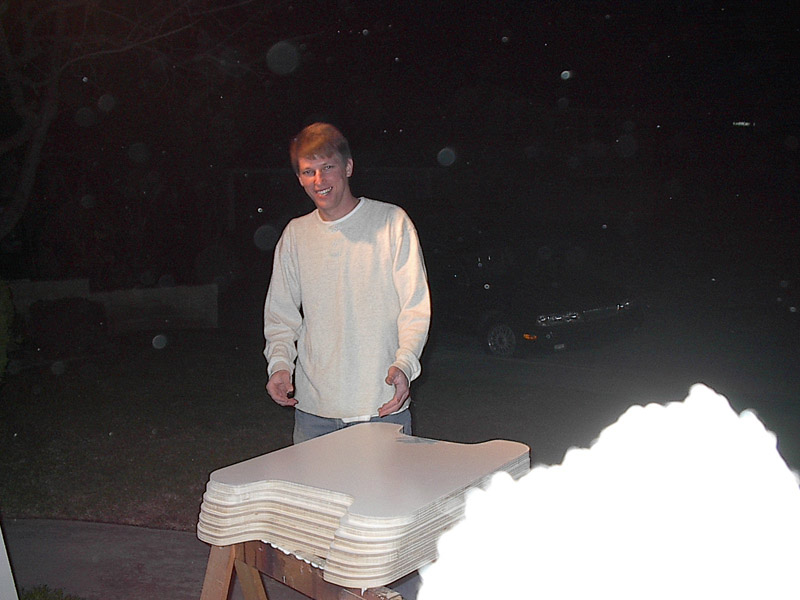
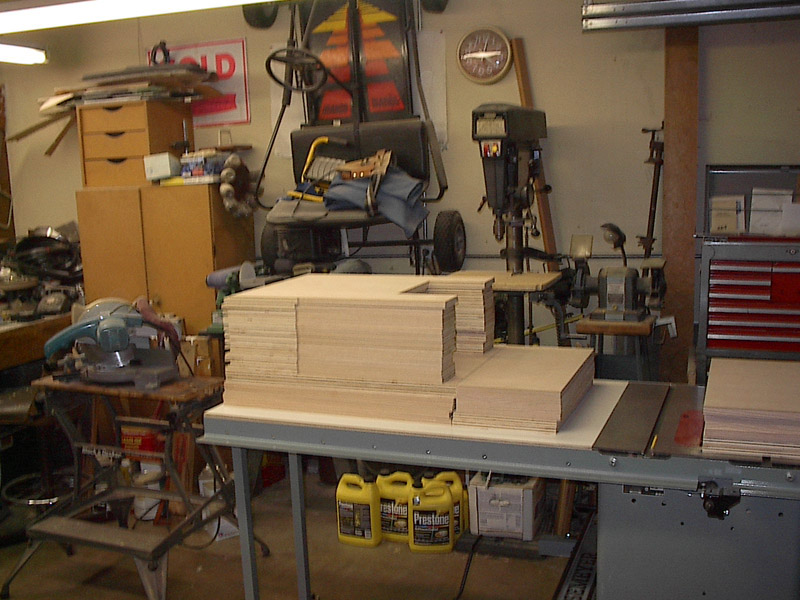
| These pictures are from the first weekend or "real" work. All 5 of us are there: Jim Radford, Patrick Vincent, me, Mike, and my dad. We got all the cutting done, routed the table tops and and control panel sides. | ||||
 Jim and the table tops he designed and routed. It only took 3 routers and something like 5 blades. :-) |
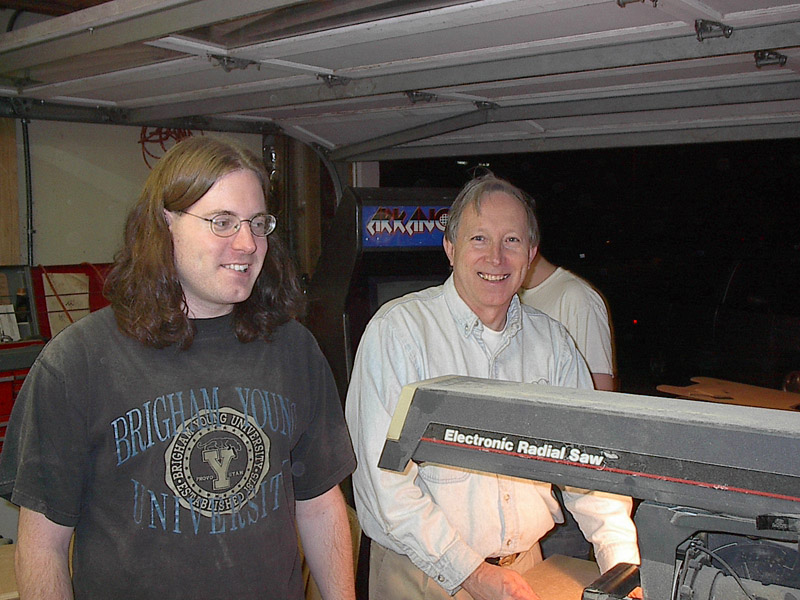 Me and my Dad. No I didn't go to that college. My sisters did. |
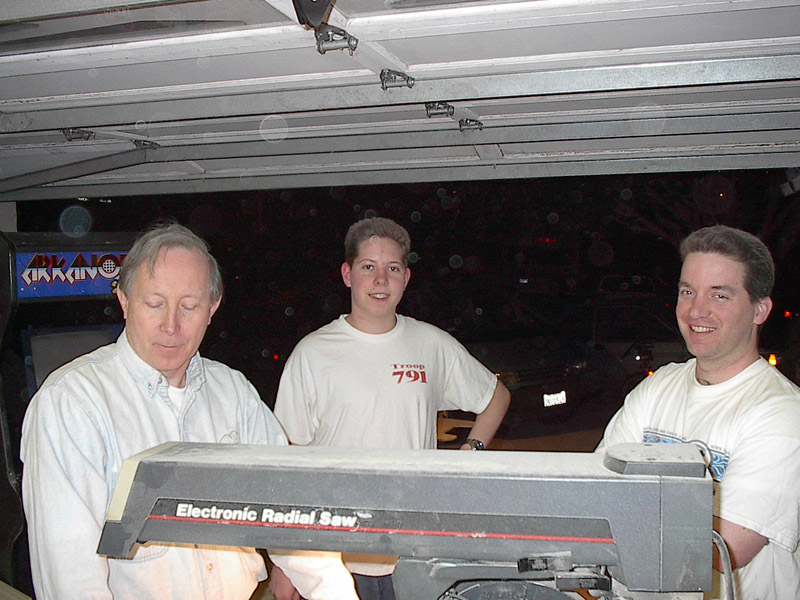 My dad, my brother and my cousin Patrick. And the radial arm saw. |
 Me and the control panel sides I designed. Yes my expression is revolting. |
|
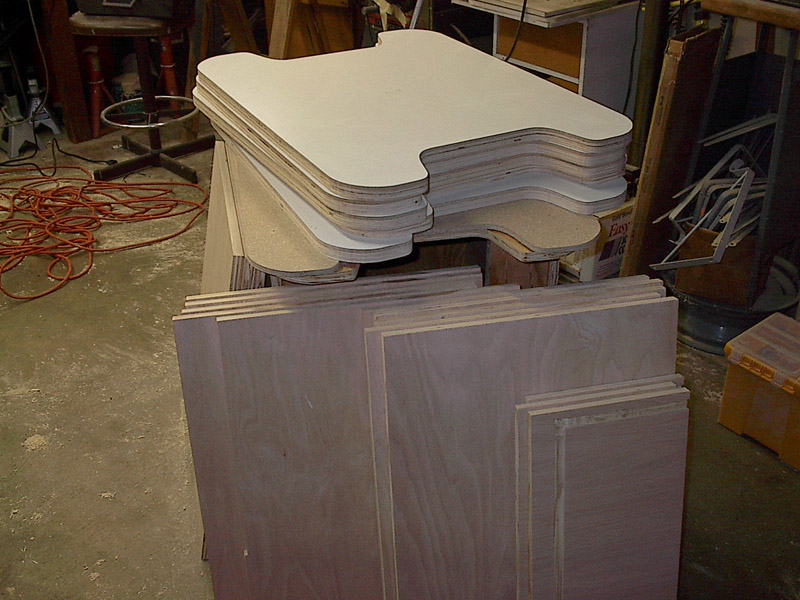 All the sides and tops cut! |
 A few control panel sides glued together. |
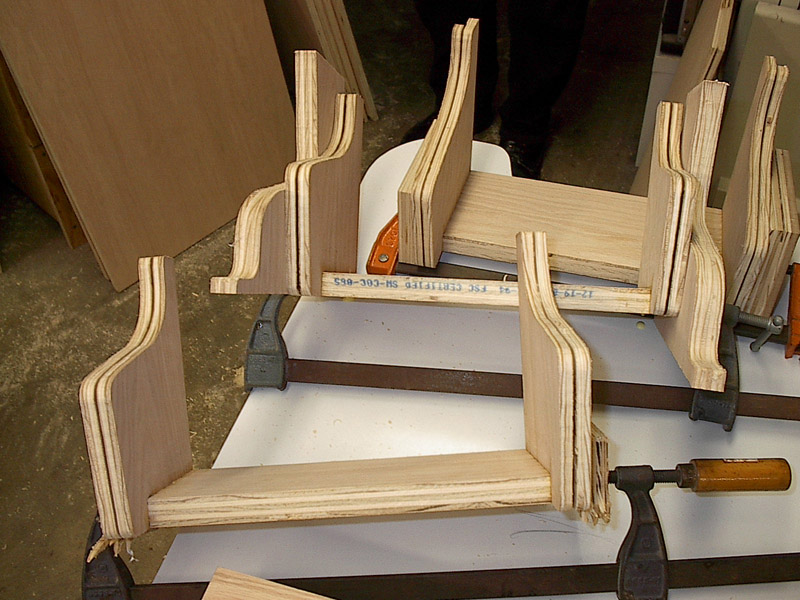 More control panel sides. |
 All the pieces stuck together for the first time. It's not glued, the dadoes are holding it together. |
 Lookin good! |
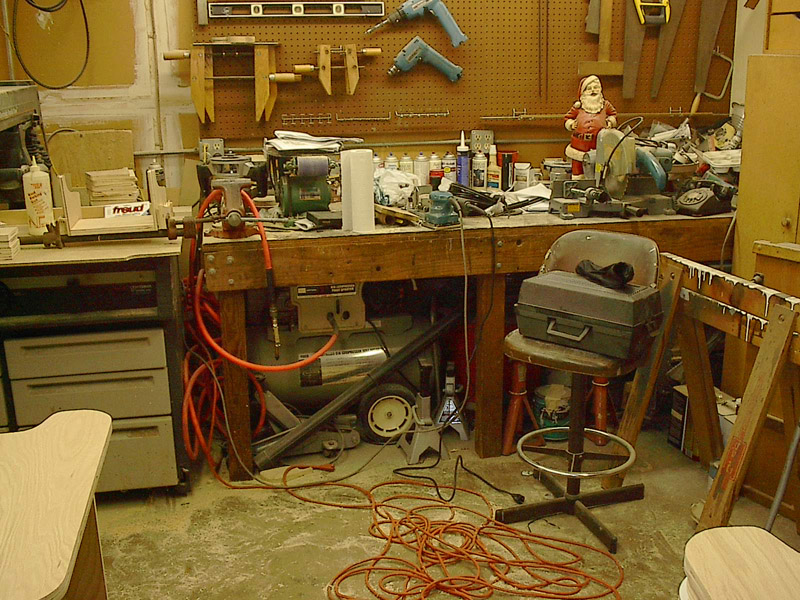 Hmm. The garage looks messier in the picture. |
||||
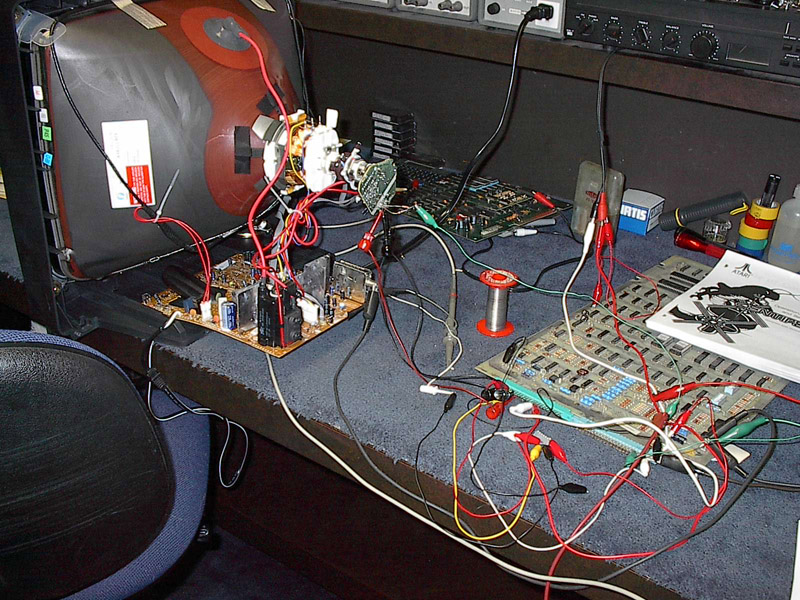 |
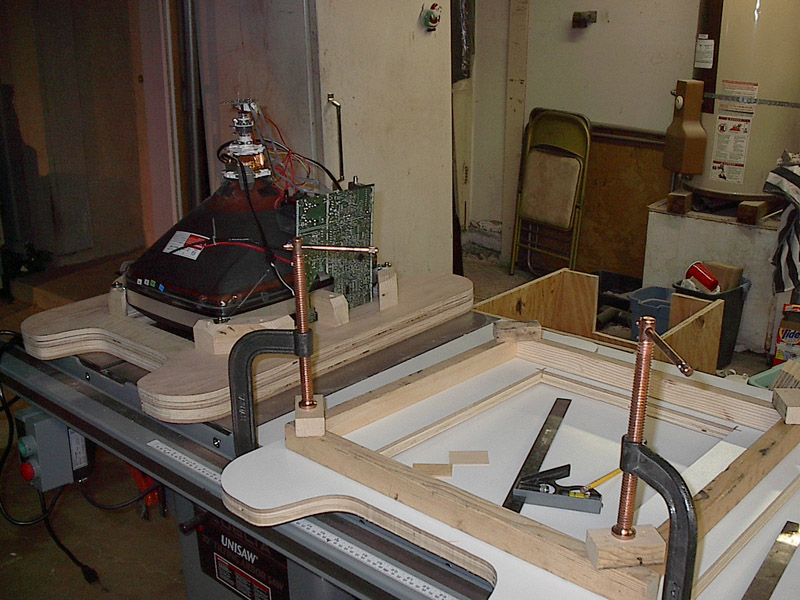
This is a picture of the TV hooked up to my centipede board. Yes, we're using a standard TV for our arcade monitor. It looks better than the brand new monitor I bought for my Ms. Pacman a few years ago and costs much less. We went to Frys and bought the cheapest 19" TV there (a Symphonic $130). Not bad for a brand new picture tube. Then after scoping around the board we found where we could stick in sync and RGB and make the tv use our signal instead of the signal from its tuner. The picture is really beautiful! Using a nice new TV also means we don't have to have a big heavy isolation transformer in the box. Get the details here. | |||
| Some shots of the garage (second weekend of work): | 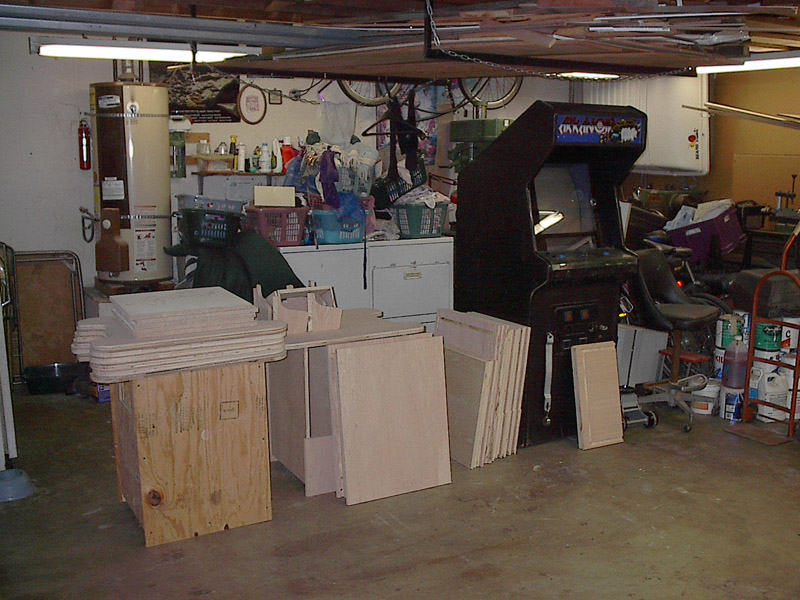 |
 |
 |
 |
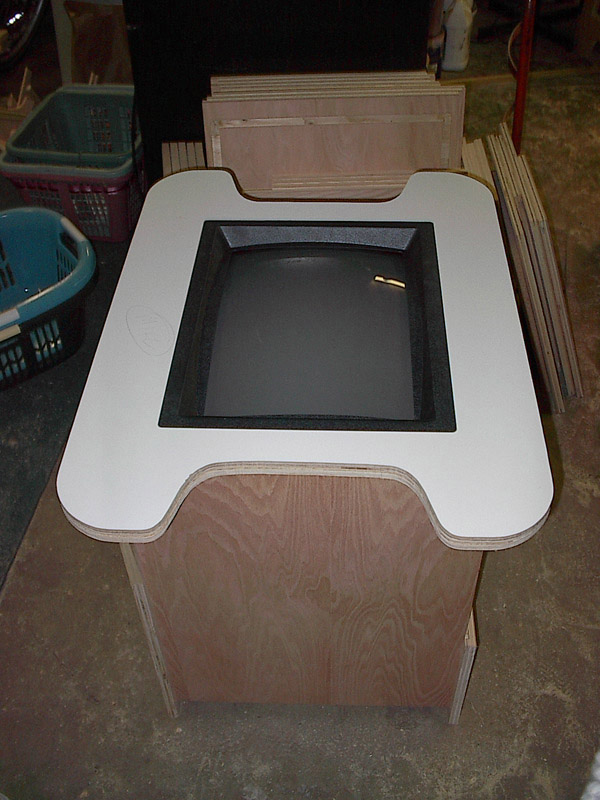 The monitor mounted on the table top and the bezel in its nicely routed home all together for the first time! Nice. |
 The side view through the door hole. |
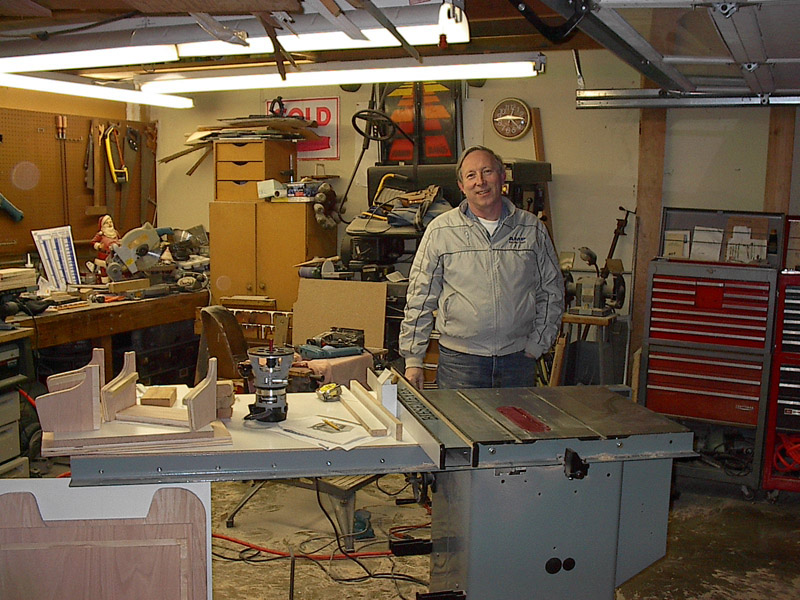 My dad and his new saw. |
 |
|
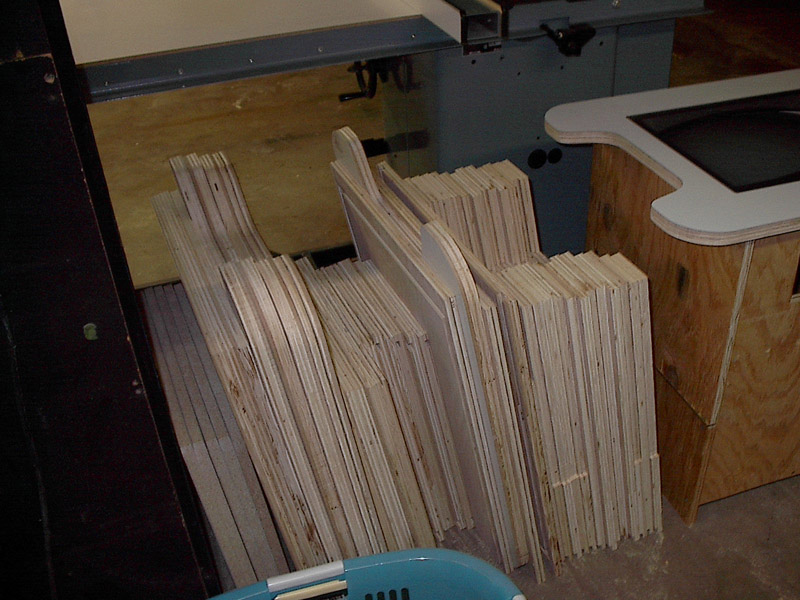 All the pieces, all lined up. |
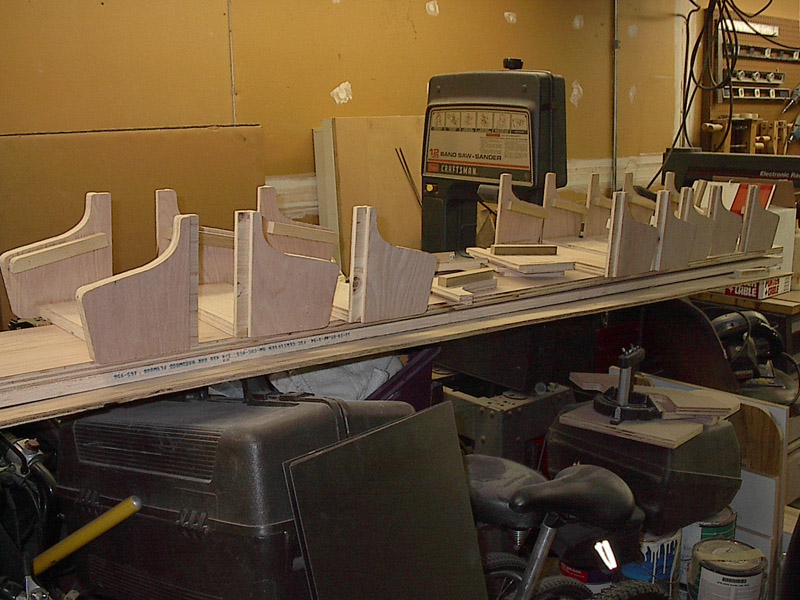 A bunch of control panel sides, all lined up. |
 The new saw again. :-) |
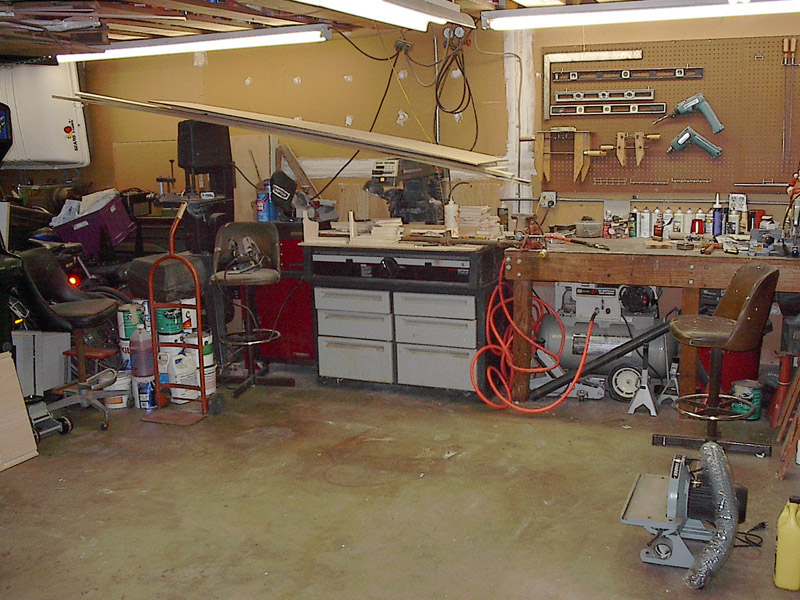
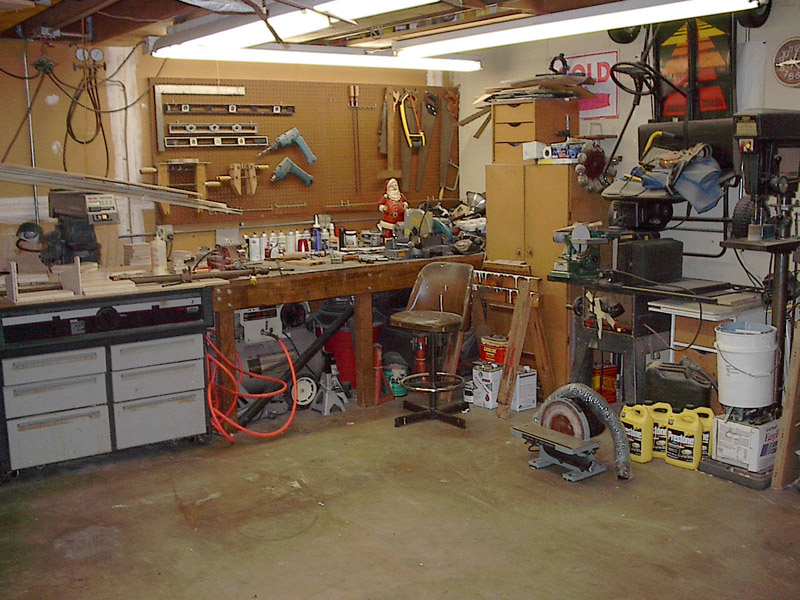
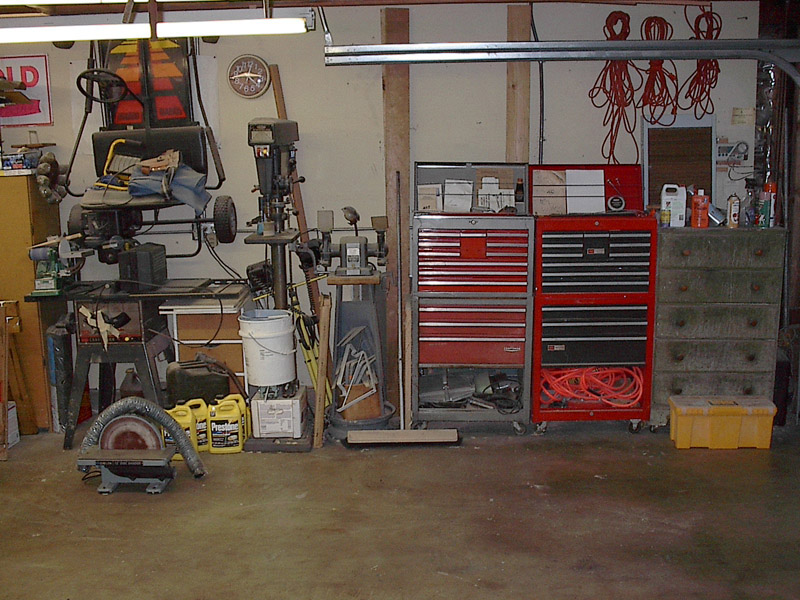
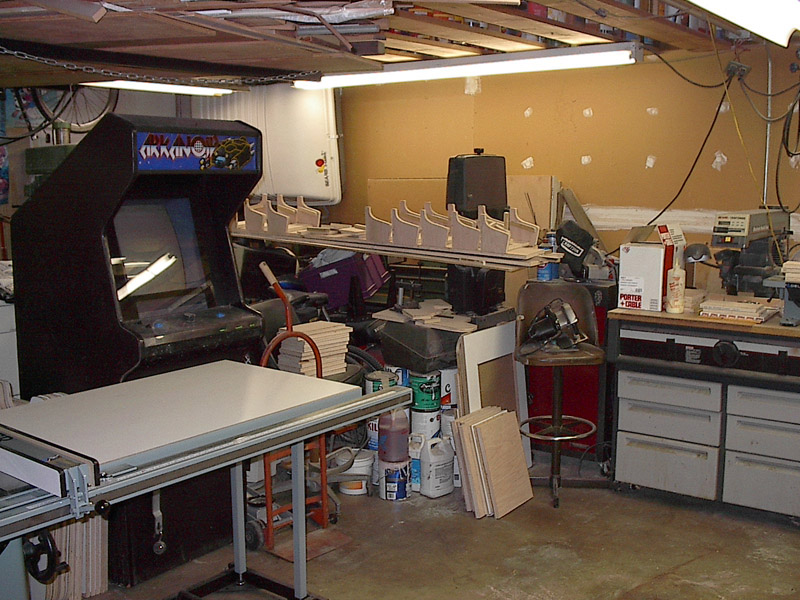 A wide shot of the garage. |
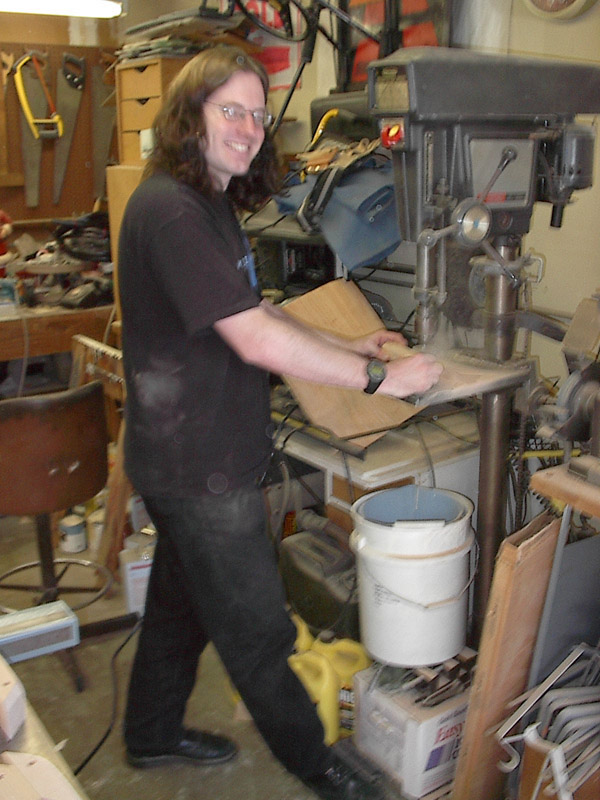
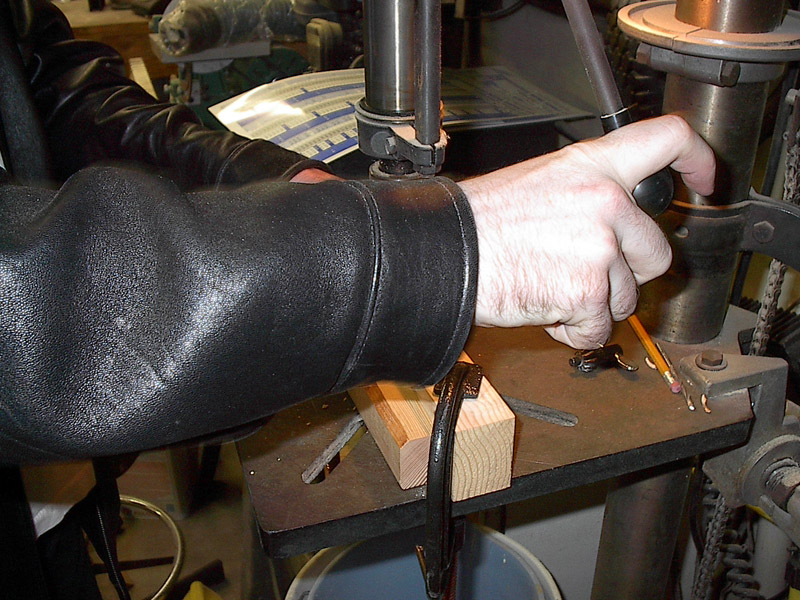 I don't know why someone took a close up shot of my hand while I was drilling. It's obviously not my fault. |
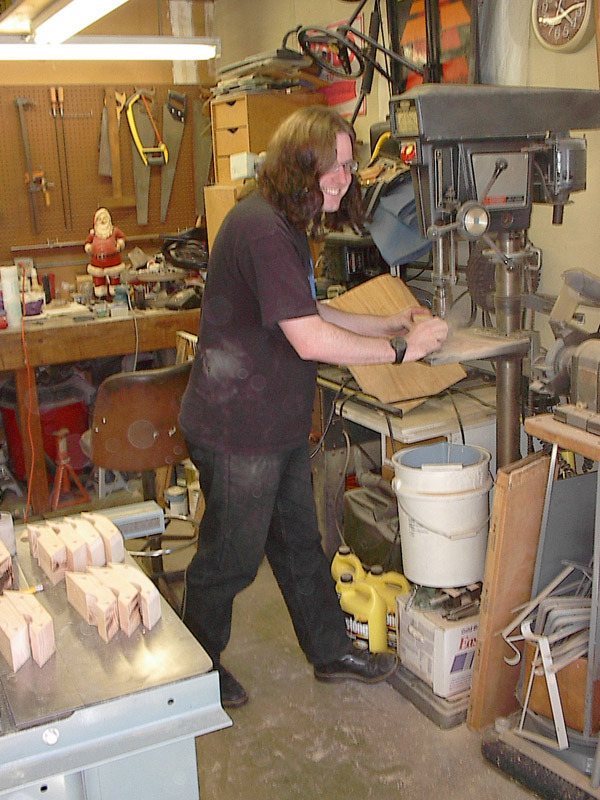
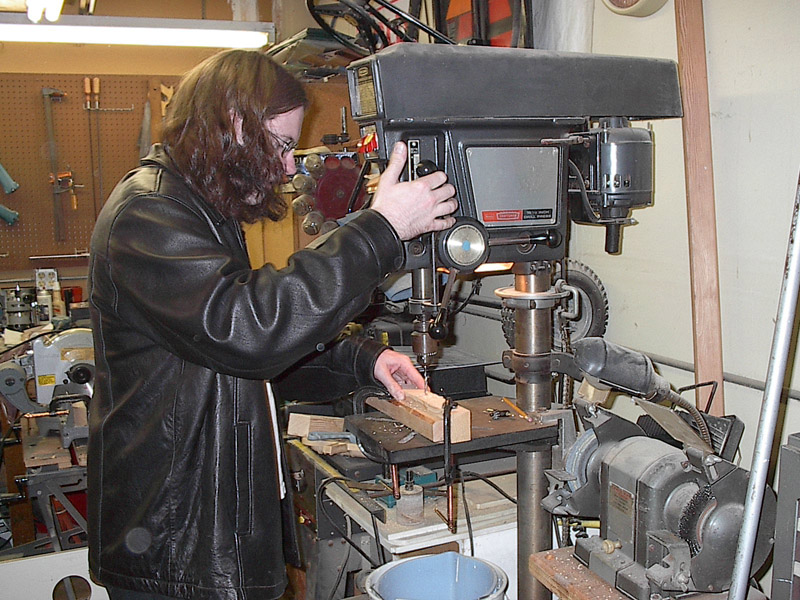 Here I am drilling something. Probably the mounts for the monitor... |
 The jig I made for placing the monitor mounts. |
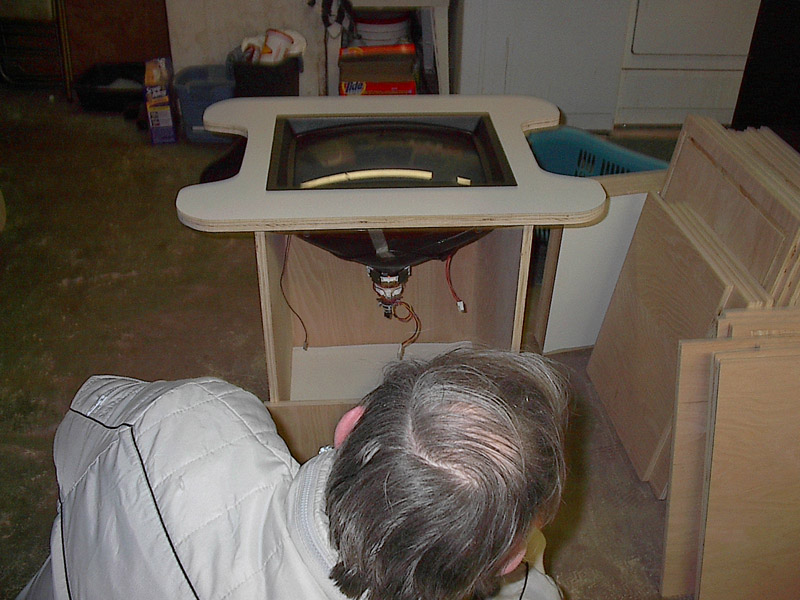
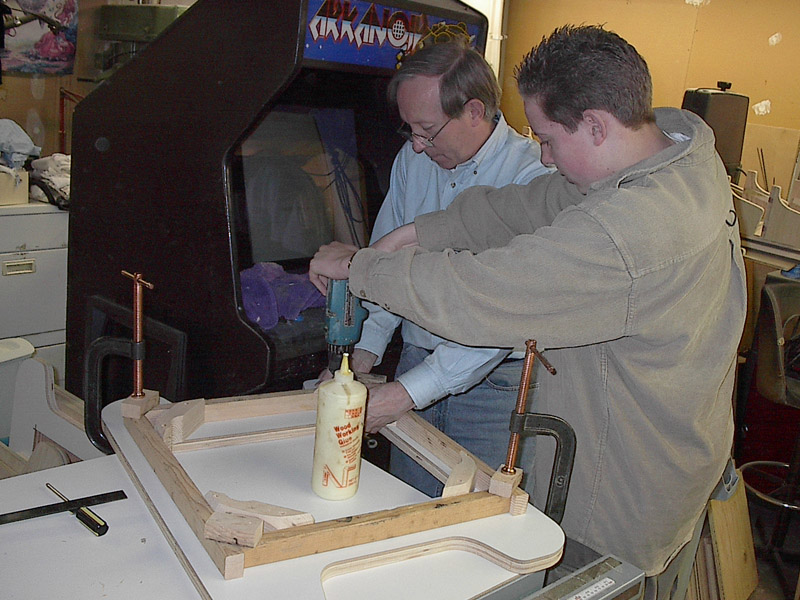 Mike and my dad screwing in the monitor mounts. |
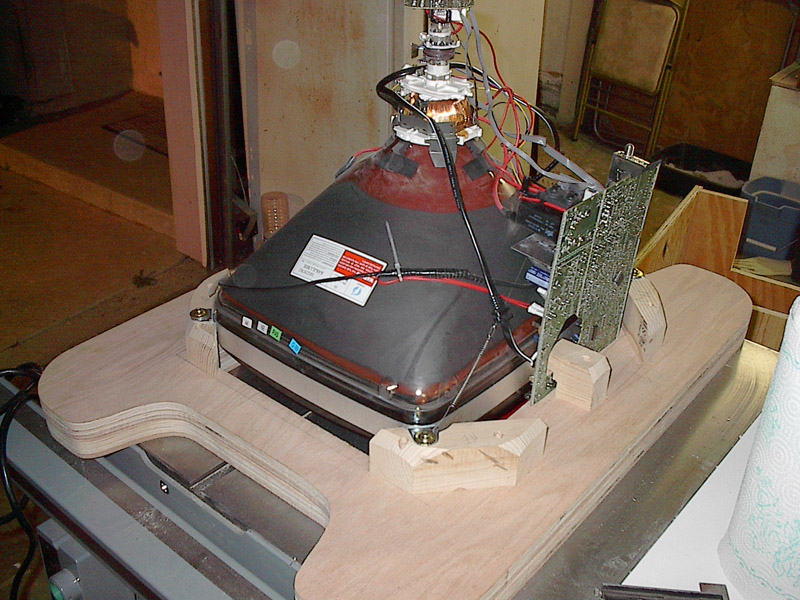 The monitor mounted on the new mounts. |
 Jim holding a routed table top in front of all the TVs. |
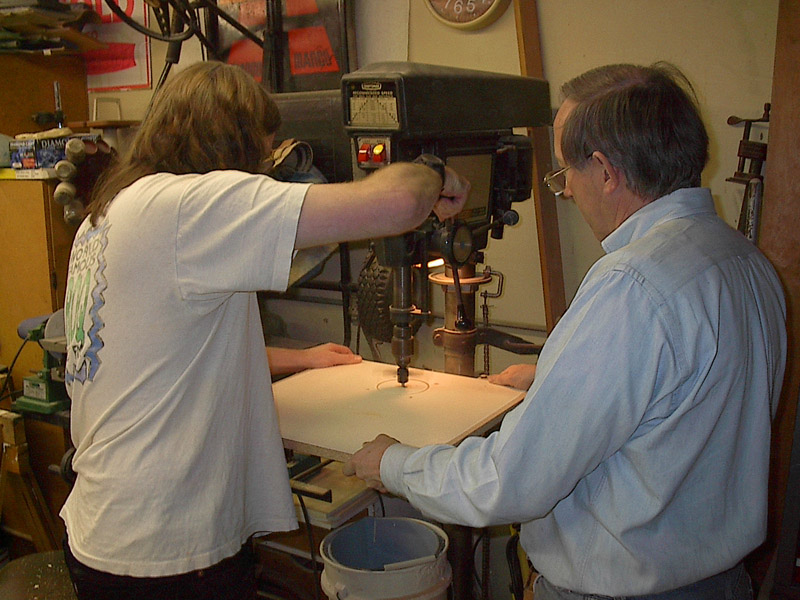 Here I am drilling the fan hole on the base. |
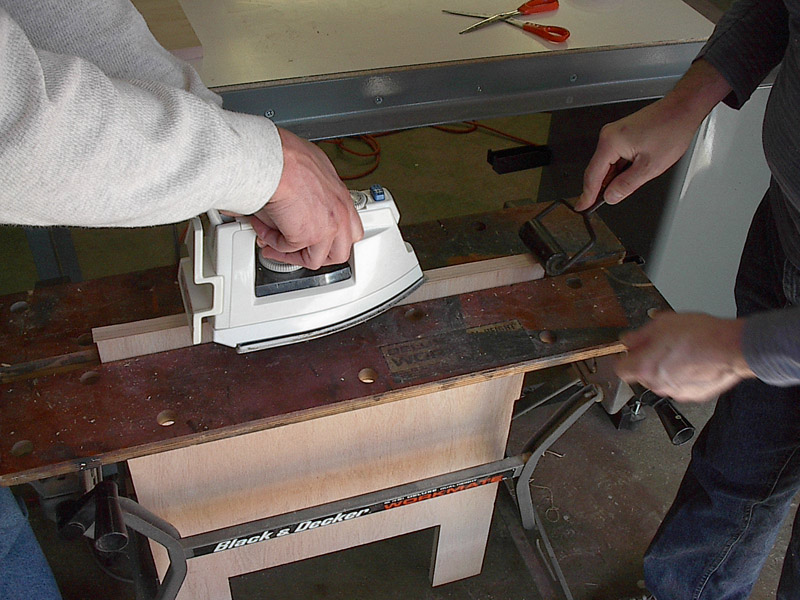 Ironing on the veneer for the sides. |
 I'm happily grinding a curve in a monitor mount. |
 Grinding away. |
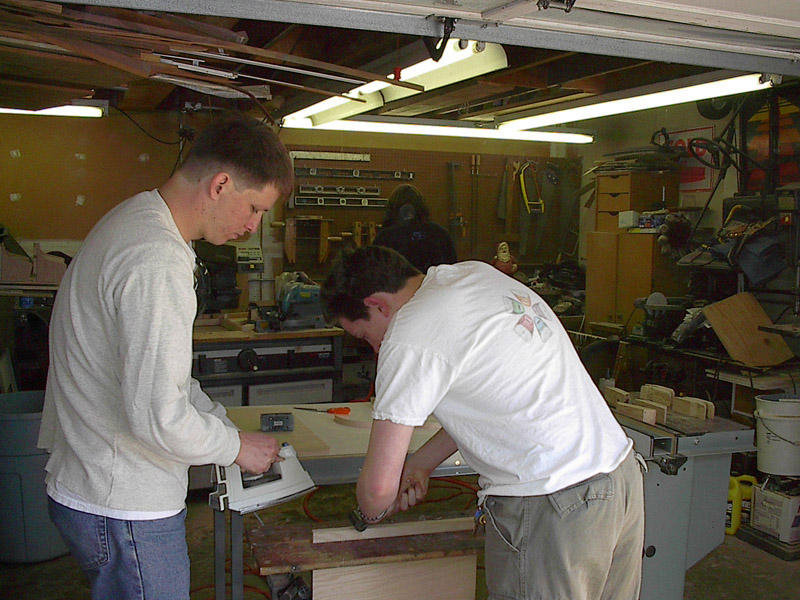 Jim and Mike doing some more veneer (there is a TON of veneer on this thing). |
 The garage after the 3rd (4th?) weekend. |
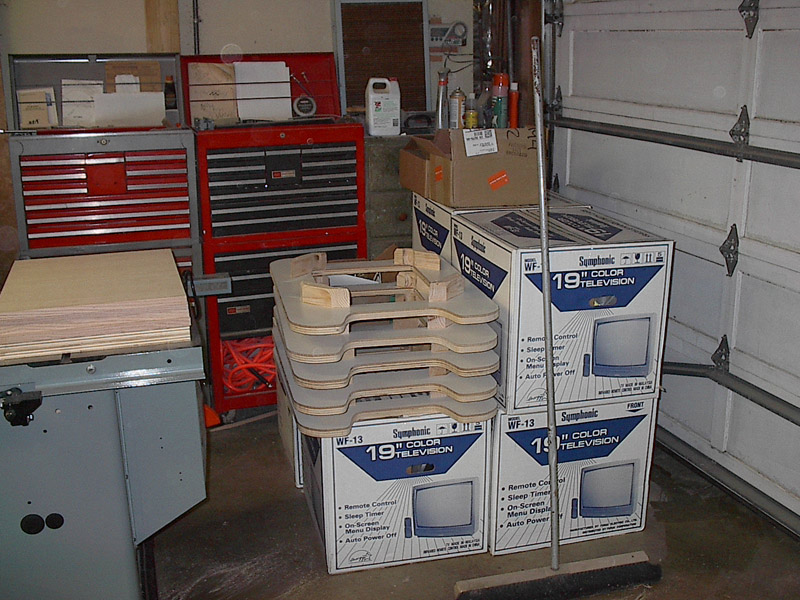 TVs and the tabletops with TV mounts installed. |
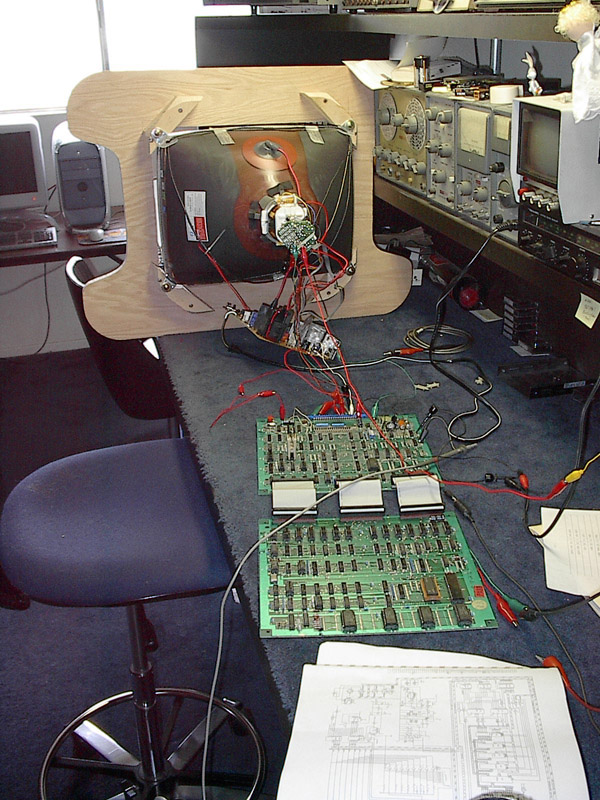 The tv (on a table top now) hooked up to Patrick's Rally-X board. The board didn't work when he bought it, we're trying to fix it. So far the connectors, a RAM and a bipolar PROM have been diagnosed as bad. |
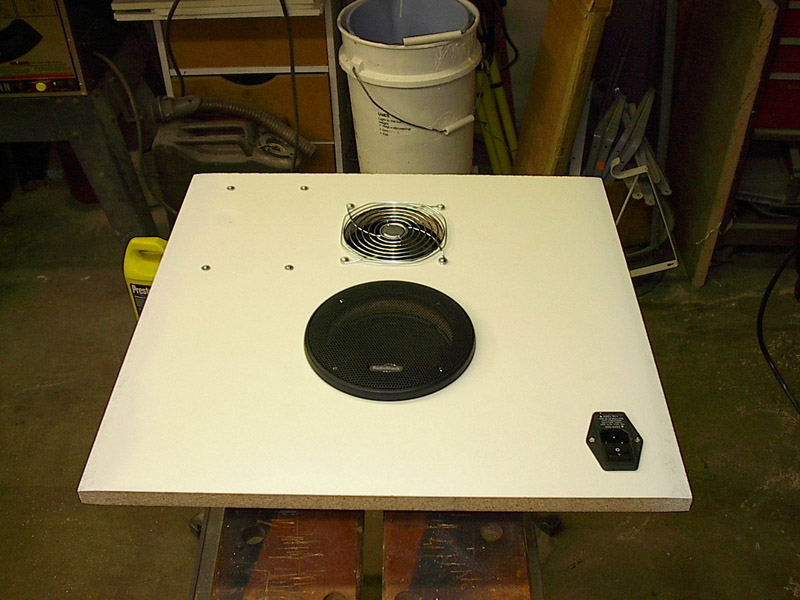 The base with everything mounted on it. |
 Again, the base, but from the other side. |